
An issue of the Society’s newsletter, transcribed from the original. Download as PDF.
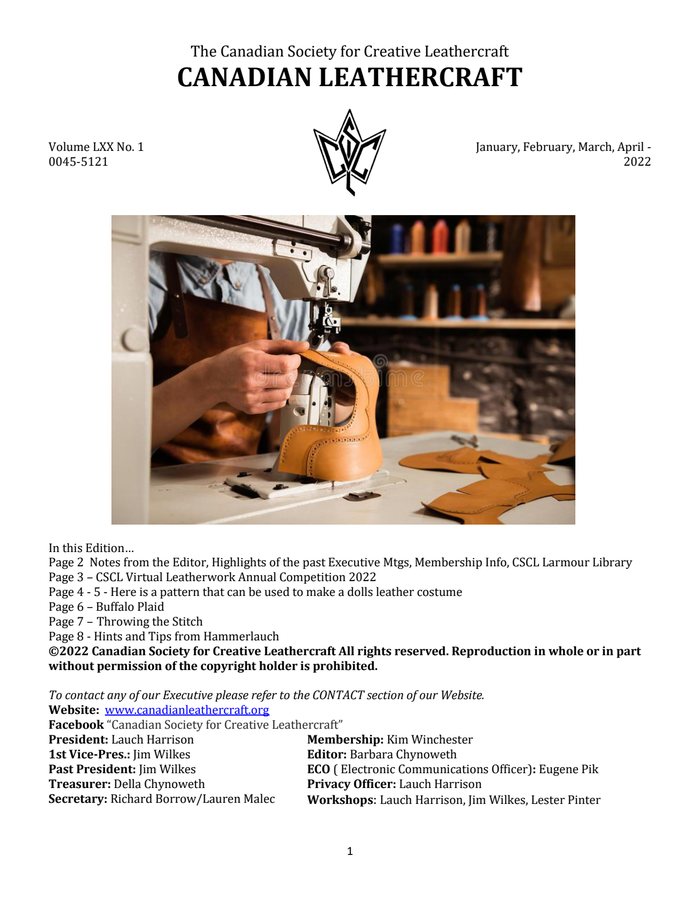
(8 pages, 3161 KB)
Page 1
The Canadian Society for Creative Leathercraft CANADIAN LEATHERCRAFT
Volume LXX No. 1 January, February, March, April -0045-5121 2022
In this Edition…
Page 2 Notes from the Editor, Highlights of the past Executive Mtgs, Membership Info, CSCL Larmour Library
Page 3 – CSCL Virtual Leatherwork Annual Competition 2022
Page 4 - 5 - Here is a pattern that can be used to make a dolls leather costume
Page 6 – Buffalo Plaid
Page 7 – Throwing the Stitch
Page 8 - Hints and Tips from Hammerlauch ©2022 Canadian Society for Creative Leathercraft All rights reserved. Reproduction in whole or in part without permission of the copyright holder is prohibited.
Website: www.canadianleathercraft.org Facebook “Canadian Society for Creative Leathercraft”
President: Lauch Harrison
Membership: Kim Winchester
1st Vice-Pres.: Jim Wilkes
Editor: Barbara Chynoweth
Past President: Jim Wilkes
ECO ( Electronic Communications Officer): Eugene Pik
Treasurer: Della Chynoweth
Privacy Officer: Lauch Harrison
Secretary: Richard Borrow/Lauren Malec
Workshops: Lauch Harrison, Jim Wilkes, Lester Pinter
Page 2
Note from the Editor….
The Newsletter “Canadian Leathercraft” is your source of information about CSCL and its members. Also check out the CSCL website at www.canadianleathercraft.org and CSCL’s Facebook page. I am always looking for articles for the Newsletter, do you have a project that you have done that you think everyone would be interested in seeing, we are looking for articles?
Highlights from the Past Executive Council Meetings….
The Executive have been Zoom meeting each month. We have been working on preparations for the upcoming Zoom Annual Meeting on May 14th. The Executive debated about having an in person Annual but with the uncertainty of Covid we decided it would be safer to wait another year before taking that step.
We look forward to seeing you on Saturday Morning, May 14th.
Next year we will be looking for some new volunteers to fill some of the Executive positions so if you are interested in being on the Executive let us know.
CSCL Membership
Have you paid your membership? It’s a new Membership Year (April 1 to March 31).
- If you are joining trough a branch pay your CSCL membership to the Branch Treasurer along with your branch membership fee.
- if you are joining as a Member-at-Large or Sustaining Member send your membership payment to the CSCL Treasurer: Della Chynoweth, 3350 Monck Road, Norland, Ontario K0M 2L0 or you can e-transfer to [email address removed] Please be sure to include your contact information.
| General Member | General Member – Student* | Member-at-Large | Sustaining Member |
|---|---|---|---|
| Individuals interested in leathercraft who belong to one of the CSCL Branches. (Need not be a leathercraft person.) $40.00 | A registered full-time student shall pay $5.00 | Individual interested in leathercraft who does not belong to one of the CSCL Branches. (Need not be a leathercraft person.) $40.00 | Commercial Organizations interested in supporting the Society. $100.00 or material equivalent to $100.00. |
CSCL Larmour Lending Library
The CSCL lending Library of Books and Patterns can be referenced on our web site www.canadianleathercraft.org. Head to Gallery and click on CSCL Library of Books and Patterns. Under the Patter option there is 80 pages of patterns that may give you ideas of things to make. Under the Book section there is 13 pages of titles of Books and DVD’s about Leather crafting, design and colour. Remember these patterns and books are there for you to borrow from the library. Select item(s) you would like to borrow and send your list to Paul Kitchener at [email address removed]
Branch Presidents will assist in pickup and delivery of the orders from branch members.
Members-at-large may order directly from Paul and arrange shipping or printing options, fees may apply.
Memberships are due by March 31st
Page 3
72nd Annual Meeting
The Canadian Society for Creative Leathercraft
May 14th, 2022
CSCL Virtual Leatherwork Annual Competition 2022 Cash Prizes and Awards
For Best in Show ($50) Best Moulding, Best Tooling or Colouring (Robert Muma Award $50), Best Hard Sculpture ($20), Woodstock Heritage ($50). Best Novice, Student, General Member, Fellow Awards and other Categories as deemed necessary.
Criteria for the Virtual Leatherwork Entries
Entries close April 30 at midnight.
Entries are free.
Open to all members in good standing.
Maximum of articles/item per Member is 5
Minimum of 4 photos per item.
Photos must show all sides/angles
Photos must be in focus
300Kb Minimum size Explanation/Description of each piece less than 50 words would be appreciated.
Especially if difficult and hidden aspects can’t be shown.
Send your entries to this Address: [email address removed]
The Annual will be a Zoom Meeting on May 14th from 10 am to Noon. The Zoom sign in will be emailed to everyone during the week before the meeting.
Page 4
Here is a pattern that can be used to make a dolls leather costume to use up your scraps of leather Taken from it’s a gift! 50 complete patterns for you to make.
INDIAN COSTUME
This colourful costume is bound to delight any boy, yet it is extremely simple to make and will compliment a brightly painted face, beaded arm bands or necklets.
WIG. Pull the top of a nylon stocking onto your head, and cut off surplus, Tie ends tightly.
To make hair, place 36” lengths of black yarn side by side on a 12” piece of tape or binding. Stitch yarn to tape.
Bind ends of hair with cord.
HEAD BAND.
Cut a 1%” wide strip of paper or felt to fit head. Join ends. Decorate with beads, cutouts, or paint.
Staple a real or construction paper feather to band.
WAISTCOAT.
Cut cream coloured or yellow felt in three pieces, as shown. Sew 1%” wide strips of red felt to shoulder pieces. Fringe 1%" wide strips
Directions given are to fit a nine year old boy, but it will fit someone much older or younger if reduced or enlarged slightly.
of blue felt and sew onto vest below red strips. Trim all edges of vest (except bottom edges) with red bias binding, or use pinking scissors. Fringe bottom edge to 1”.
Decorate with transfers and beads.
APRON.
Cut two 14” x 15” pieces of dark red felt. Bind each piece with red bias binding, or fringe three sides. Turn top edges down, stitch in place. Fringe.
Decorate apron pieces with beads, designed tape or cutouts.
Thread acord through top hems to wear aprons.
LEGGINGS.
Cut as shown. Seam. from ankle to crotch. Decorate with brightly-designed tape. Fringe sides of each legging.
ar
Page 5
INDIAN COSTUME eee NECKLACE AND PRMBAND
THREAD BEAPOS FIND WORE MCR ont
PLACE VARN FAD SEW ; TRPE OR BINDING Bee? OMe
MAKE ARMBAND OF CARDBOARD & PAINT DESIANS
WAISTCOAT
FRINGE BLUE FELT ; XV
AS rai
TRIM EDGES y
CUT THREE PIECES ONE BRECK, TWO FRONT ——- FOLD OvER FOR MEM
ALP BIAS BINDING AS SHOWN ABOVE PRP FRINGE
LEGGINGS kk ADP BIAS BINDING
CUT FRINGE TO SEAM AT LEFT.
AP DECORRTION La
LOUGH e a” WIDE ENOUGH TO PASS FOOT TH
Page 6
Buffalo Plaid An Experiment with Sunlight on Leather BUFFALO PLAIDis a pattern of large blocks alternating with red and black checks. For example, this wooden Welcome sign used 4 colours: red, red tinted with black, red tinted with more black, and black.
Variations of this method exist in home décor and beg the question: is it possible in leathercraft? The answeris Yes!
Use a low tack painters’ tape and begin with a 6x10 inch scrap of vegetable tanned. Check the weather to allow exposure to the sun in multiple steps as follows:
Steps: Painting Wood Steps: Sunlight on Leather
Paint the base colour. Let dry. Use natural veg tan as the base colour.
Tape horizontally, alternating rows. Tape horizontally, alternating rows.
Paint the 2" colour. Let dry. Achieve the 2" darkest shade by sun exposure. Remove tape. Remove tape. ***
Tape vertically, alternating. Tape vertically, alternating.
Paint the 3% colour. Let dry. Achieve the 3" darkest shade by sun exposure. Tape horizontal again exactly as before. Tape horizontal again exactly as before.
Paint the 4" colour. Let dry. Achieve the 4" darkest shade by sun exposure. Remove tape. Remove tape.
Monitor the colour effect of sunlight; check underthe tape often. Inthe end, you will have 4 grades of faded leather. Unfortunately, tape may leave asticky residue (and removal discolours the unfinished leather) therefore, itis suggested to substitute same-width strips of paper fastened at the back of the piece of leather. Experiment further with dyes by taking advantage of the grids of tape. NextIssue: to plan a tooled BUFFALO PLAID effect and trace a Welcome sign
\ 2
Page 7
Throwing the Stitch
Throwing the Stitch is a Harness Stitching technique using a thread with needles at each end to close a seam. The holes for the needles are made with an awl or can be made with a Stitch Chisel. The awl strike cuts a slit in the leather. The slit is angled and stretched into a diamond shape, this provides the maximum amount of the leather between the stitches and allows the needles to pass with less effort. See Al Stohlman The Art of Hand Stitching Leather for a good explanation and learning guide on all types of stitching. Valerie Michael The Leatherworking Handbook has some great info for a more classic/refined style.
The standard stitch will make a dogleg on the front (awl hand side) as the stitches are pulled in to the corners of the awl strike. The stitch on the back side will be quite straight. Throwing the stitch will make the thread dogleg on the back and take a little bit of dogleg away from the front. This is done by placing the back side thread on the over the needle prior to pulling the stitches up tight, by crossing the thread over each other it adjusts the thread position in the awl strike. This slightly locks the threads as they cross over inside the leather giving a very secure stitch. Try it and see the difference, it makes the back look more like the front. With lots of practice your awl strikes will be very regular and the back can look as good as the front. See photo These examples are struck with same awls and stitched with the same thread. Lauch Harrison FCSCL
Illustration 1: Seven per inch Top Line Regular Bottom Line Thrown
Illustration 2: Stitched 7 per inch Top Line Thrown Bottom Line Regular
Page 8
Hints and Tips from Hammerlauch
Thread Tips Larger thread less dogleg – Smaller thread more dogleg (has to do with filling the awl strike hole) Larger thread more fill – makes each stitch appear longer Larger thread, Hard twisted thread, Natural Fiber thread, well waxed thread and Core Bonded thread are more “plump”
Awl Strike Tips Larger awl strike – shorter stitch appearance, thread pulls down into the ends of the cuts Larger awl strike - less “plump” the stitch Larger awl strike more dogleg - thread pulls down into the ends of the cut smaller awl strike longer stitch appearance – more leather between the cuts smaller awl strike less dogleg – ends of the cuts are closer to the mid line smaller awl strike more “plump” the stitch
Technique Tips Thrown stitch less dogleg on the front Thrown stitch more dogleg on back Pricking iron used with small awl will show dogleg more than pricking wheel with the same awl Pricking Chisel – only thread size and Throwing can change the look of the stitch - try different threads then choose the best look Pricking Chisel will give the Most regular stitch front and back Pricking Iron will give the most regular stitch when using an awl Stitch channel on the back will give very regular appearance
Stitches per Inch Tips For Linen Thread Size Thread size when paired with correct size awls gives best appearance for thrown or regular stitches Thicker Leather and Depth from the Edge will prompt use of the thicker/heavier threads 5 Stitches per inch – 7 cord/18 or larger if you have it 6 Stitches per inch – 6 cord/18 or 5 cord/18 7 Stitches per inch – 5 cord/18 or 4 cord/18 8 Stitches per inch – 4 cord/18 or 3 cord/18 9 Stitches per inch – 3 cord/18 or 4 cord/20 10 Stitches per inch – 3 cord/20 or 3 cord/25 or 3 cord/30 11 Stitches per inch – 3 cord/25 or 3 cord/30