
Leathercraft consumes time, results rewarding
The Daily Sentinel-Review, Woodstock; by Mike Roy, staff writer. Handwritten "SR 2-25-74" (the last figure is unclear); the text agrees with early 1974 - Carol McLean in her third year as Woodstock Branch president.
See also History of the Woodstock Branch.
the original (PDF) · 1 page · 946 KB
Page 1
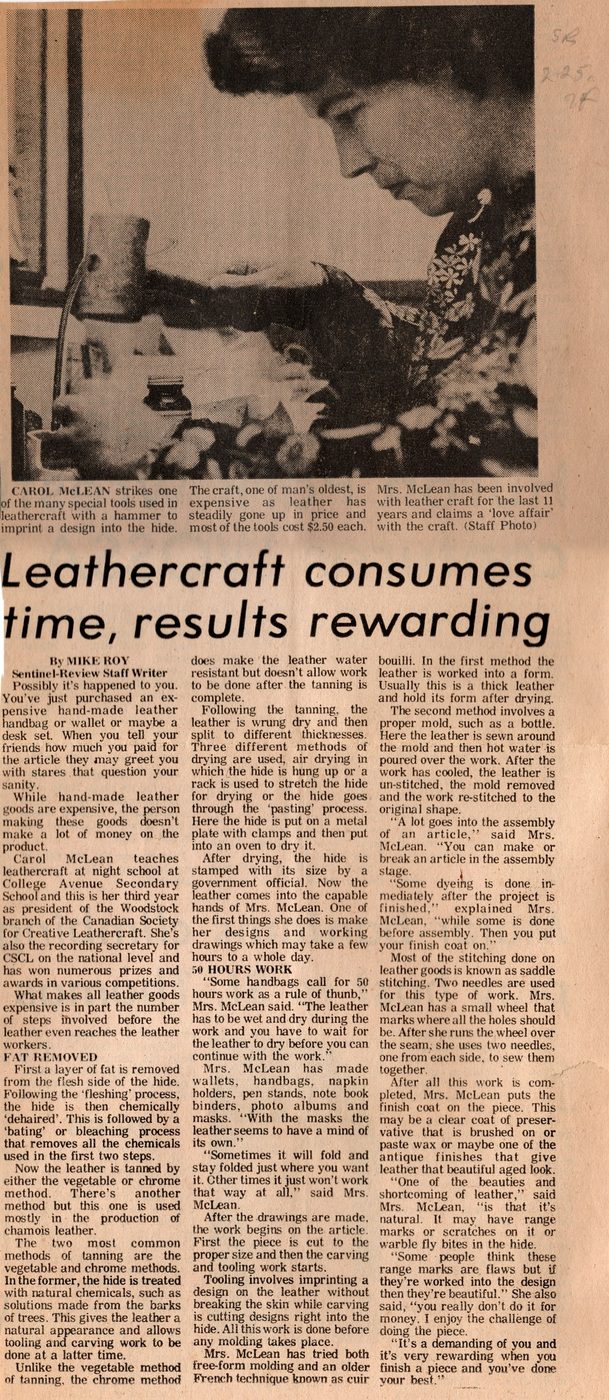
[Photo caption] CAROL McLEAN strikes one of the many special tools used in leathercraft with a hammer to imprint a design into the hide. The craft, one of man's oldest, is expensive as leather has steadily gone up in price and most of the tools cost $2.50 each. Mrs. McLean has been involved with leather craft for the last 11 years and claims a 'love affair' with the craft. (Staff Photo)
Leathercraft consumes time, results rewarding
By MIKE ROY
Sentinel-Review Staff Writer
Possibly it's happened to you. You've just purchased an expensive hand-made leather handbag or wallet or maybe a desk set. When you tell your friends how much you paid for the article they may greet you with stares that question your sanity.
While hand-made leather goods are expensive, the person making these goods doesn't make a lot of money on the product.
Carol McLean teaches leathercraft at night school at College Avenue Secondary School and this is her third year as president of the Woodstock branch of the Canadian Society for Creative Leathercraft. She's also the recording secretary for CSCL on the national level and has won numerous prizes and awards in various competitions.
What makes all leather goods expensive is in part the number of steps involved before the leather even reaches the leather workers.
FAT REMOVED
First a layer of fat is removed from the flesh side of the hide. Following the 'fleshing' process, the hide is then chemically 'dehaired'. This is followed by a 'bating' or bleaching process that removes all the chemicals used in the first two steps.
Now the leather is tanned by either the vegetable or chrome method. There's another method but this one is used mostly in the production of chamois leather.
The two most common methods of tanning are the vegetable and chrome methods. In the former, the hide is treated with natural chemicals, such as solutions made from the barks of trees. This gives the leather a natural appearance and allows tooling and carving work to be done at a latter time.
Unlike the vegetable method of tanning, the chrome method does make the leather water resistant but doesn't allow work to be done after the tanning is complete.
Following the tanning, the leather is wrung dry and then split to different thicknesses. Three different methods of drying are used, air drying in which the hide is hung up or a rack is used to stretch the hide for drying or the hide goes through the 'pasting' process. Here the hide is put on a metal plate with clamps and then put into an oven to dry it.
After drying, the hide is stamped with its size by a government official. Now the leather comes into the capable hands of Mrs. McLean. One of the first things she does is make her designs and working drawings which may take a few hours to a whole day.
50 HOURS WORK
"Some handbags call for 50 hours work as a rule of thumb," Mrs. McLean said. "The leather has to be wet and dry during the work and you have to wait for the leather to dry before you can continue with the work."
Mrs. McLean has made wallets, handbags, napkin holders, pen stands, note book binders, photo albums and masks. "With the masks the leather seems to have a mind of its own."
"Sometimes it will fold and stay folded just where you want it. Other times it just won't work that way at all," said Mrs. McLean.
After the drawings are made, the work begins on the article. First the piece is cut to the proper size and then the carving and tooling work starts.
Tooling involves imprinting a design on the leather without breaking the skin while carving is cutting designs right into the hide. All this work is done before any molding takes place.
Mrs. McLean has tried both free-form molding and an older French technique known as cuir bouilli. In the first method the leather is worked into a form. Usually this is a thick leather and hold its form after drying.
The second method involves a proper mold, such as a bottle. Here the leather is sewn around the mold and then hot water is poured over the work. After the work has cooled, the leather is un-stitched, the mold removed and the work re-stitched to the original shape.
"A lot goes into the assembly of an article," said Mrs. McLean. "You can make or break an article in the assembly stage."
"Some dyeing is done immediately after the project is finished," explained Mrs. McLean, "while some is done before assembly. Then you put your finish coat on."
Most of the stitching done on leather goods is known as saddle stitching. Two needles are used for this type of work. Mrs. McLean has a small wheel that marks where all the holes should be. After she runs the wheel over the seam, she uses two needles, one from each side, to sew them together.
After all this work is completed, Mrs. McLean puts the finish coat on the piece. This may be a clear coat of preservative that is brushed on or paste wax or maybe one of the antique finishes that give leather that beautiful aged look.
"One of the beauties and shortcoming of leather," said Mrs. McLean, "is that it's natural. It may have range marks or scratches on it or warble fly bites in the hide.
"Some people think these range marks are flaws but if they're worked into the design then they're beautiful." She also said, "you really don't do it for money. I enjoy the challenge of doing the piece.
"It's a demanding of you and it's very rewarding when you finish a piece and you've done your best."
The words above are the document’s own, as the paper prints them. Spelling and spacing are left as they stand.